


Installation Instructions
The proper installation of your window is critical to its performance. We recommend contacting a professional Thermo-Tech dealer to assist you with installation. After all, a good fit adds to the performance of your windows. However, if you are handling the project on your own or even helping a professional with the installation of your Thermo-Tech Premium Window and Door products, download our easy-to-follow instructions here.
Window Installation Instructions
- Thermo-Fit Replacement Installation Instructions – Brickmould (PDF)
- Thermo-Fit Replacement Window Installation – No Nailing Flange (PDF)
- New Construction Window Installation – with Nailing Flange (PDF)
- Bay/Bow Window Installation (PDF)
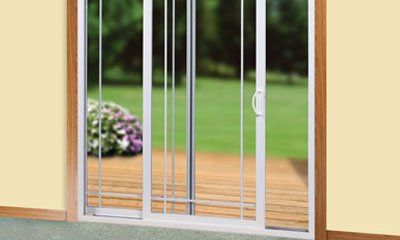
Patio Door Installation Instructions
- Replacement Patio Door Installation – Nail Fin Removed (PDF)
- New Construction Patio Door Installation – with Nailing Flange (PDF)
The following information outlines preparing and measuring for a typlical custom Thermo-Fit replacement window project. Please note that there may be some instructions that are unique to a specific window style or your specific project. Please consult your dealer for installation assistance.
Before You Start
Inspect the old window. Double check the existing window opening prior to ordering a Thermo-Fit Replacement product.
Is the frame in good shape? Check the frame around the existing window for signs of damage or rot. Any damaged or rotten window components must be replaced prior to installation of a new window.
Is the opening square? Measure diagonally from corner to corner. If the diagonal lengths are off by more than 1/4″, the new window should be sized slightly smaller so that it can be installed plumb, level and square.
Is the opening deep enough? All Thermo-Fit series windows have a frame width of 3-1/4″. The opening must be at least 3-1/4″ from back side of blind stop to back side of interior finish stop. If the opening is less than 3-1/4″, you may need to alter the interior stop or do a full-frame replacement.
If all of these requirements are met, you can now order your insert window. If these conditions are not met, you may have to order a full frame replacement. Full-frame replacement is when the entire existing window is removed from the wall, which generally means patching the exterior siding and finishing with new interior trim.
Tools Needed:
- Silicon Caulk
- Caulking Gun
- Hammer
- Pry Bar
- Tape Measure
- Level
- Square
- Drill Bits
- Screw Gun
- Hack Saw
- Fiberglass or non-expanding foam insulation
Measuring Your Existing Window Frame
Step 1. From inside your home, measure the width of the existing window frame. Measure between the jambs at three spots: top, middle and bottom.
Step 2. Now measure the height of the existing window frame. Measure from the head jamb to the sill at the sill’s highest point, normally right behind the stool. Again, measuring in three spots: right, middle and left side.
Measuring for a Full-Frame Window
When measuring for a full-frame window unit, you are trying to determine the rough opening. The rough opening is the unfinished wall or opening where a window or door will be installed. It is surrounded by studs on either side, a header on top and a rough sill at the bottom. It is the framing to which the window will mount.
Step 1. Remove the inside trim to bring studs, header and rough sill into view.
Step 2. Measure the width of the opening from stud to stud and record the measurement.
Step 3. Measure the height from the bottom of the header to the top of the rough sill and record the measurement.
Step 4. Measure the depth of the opening and determine the wall depth. Record the measurement.
Step 5. Repeat for each window and bring the rough opening measurements into your nearest Thermo-Tech Premium Windows and Doors dealer. Your dealer can show you the options available and determine the correct window size.
Please note that there may be some instructions that are unique to a specific window style or your specific project. Please consult your dealer for installation assistance.